Pouring LB agar plates
A working Bond Lab protocol for pourable LB agar with optional antibiotic selection. Concentrations assume standard E. coli cloning strains. LB agar gives bacteria a solid surface to grow on while nutrients stay in the gel; with the correct antibiotic, only cells carrying a resistance marker (usually on a plasmid) form colonies.
Download print-friendly PDF — text only, no images; suitable for bench printout.
Background
Luria–Bertani (LB) medium supplies peptides and amino acids (tryptone, yeast extract) plus sodium chloride for osmotic balance. Agar melts near boiling and sets into a gel near 42–45 °C; bacteria cannot digest agar but grow in the nutrients trapped in the matrix.
Antibiotics are heat-sensitive and must be added only after cooling—typically 48–55 °C. Confirm final concentrations on your plasmid map and the antibiotic datasheet.
Safety
- Heat-resistant gloves for molten agar and autoclaved glass; agar burns adhere to skin.
- Aseptic technique (Bunsen flame or biosafety cabinet) when adding antibiotic and pouring.
- Label bottles and plates with date, medium, and antibiotic; do not rely on lid colour alone.
- Dispose of contaminated plates via your institutional biological waste rules.
Materials (per litre)
- Tryptone 10 g; yeast extract 5 g; NaCl 10 g; agar 12 g; deionised water to 1 L
- Or commercial LB–agar premix (~37 g per L—check the manufacturer label)
- Filter-sterilised antibiotic stocks (1000×); see table below
- Sterile Petri dishes; autoclave-safe flask (≥2× the final liquid volume)
Typical antibiotic working concentrations
| Antibiotic | Stock (1000×) | Final in agar |
|---|---|---|
| Ampicillin / carbenicillin | 100 mg/mL in water | 100 µg/mL |
| Kanamycin | 50 mg/mL in water | 50 µg/mL |
| Chloramphenicol | 25 mg/mL in ethanol | 25 µg/mL (light-sensitive) |
| Tetracycline | 10 mg/mL in ethanol | 10 µg/mL (light-sensitive) |
| Spectinomycin | 50 mg/mL in water | 50 µg/mL |
| Gentamicin | 10 mg/mL in water | 10 µg/mL |
Equipment
- Autoclave (liquid cycle); water bath 48–55 °C; thermometer
- Bunsen flame; 70% ethanol; sterile pipettes or pour directly from the bottle
- Plate bags or Parafilm; marker for labelling plate bases
Volume planning: volume (mL) ≈ (number of plates) × (mL per plate) + 10–15% extra. For 37 g/L premix: grams = 0.037 × volume in mL. Example: twenty 100 mm plates at 20 mL → 400 mL; make 450–500 mL.
Detailed procedure
-
Weigh and suspend the medium.
Weigh tryptone, yeast extract, NaCl, and agar into a clean, heat-resistant flask (or use premixed LB–agar
powder at ~37 g per litre). Add deionised water to the planned final volume—not the flask’s full capacity.
Add a magnetic stir bar if available and stir slowly, or swirl by hand until powder is evenly wetted. Small
floating clumps are normal; they disperse during autoclaving.
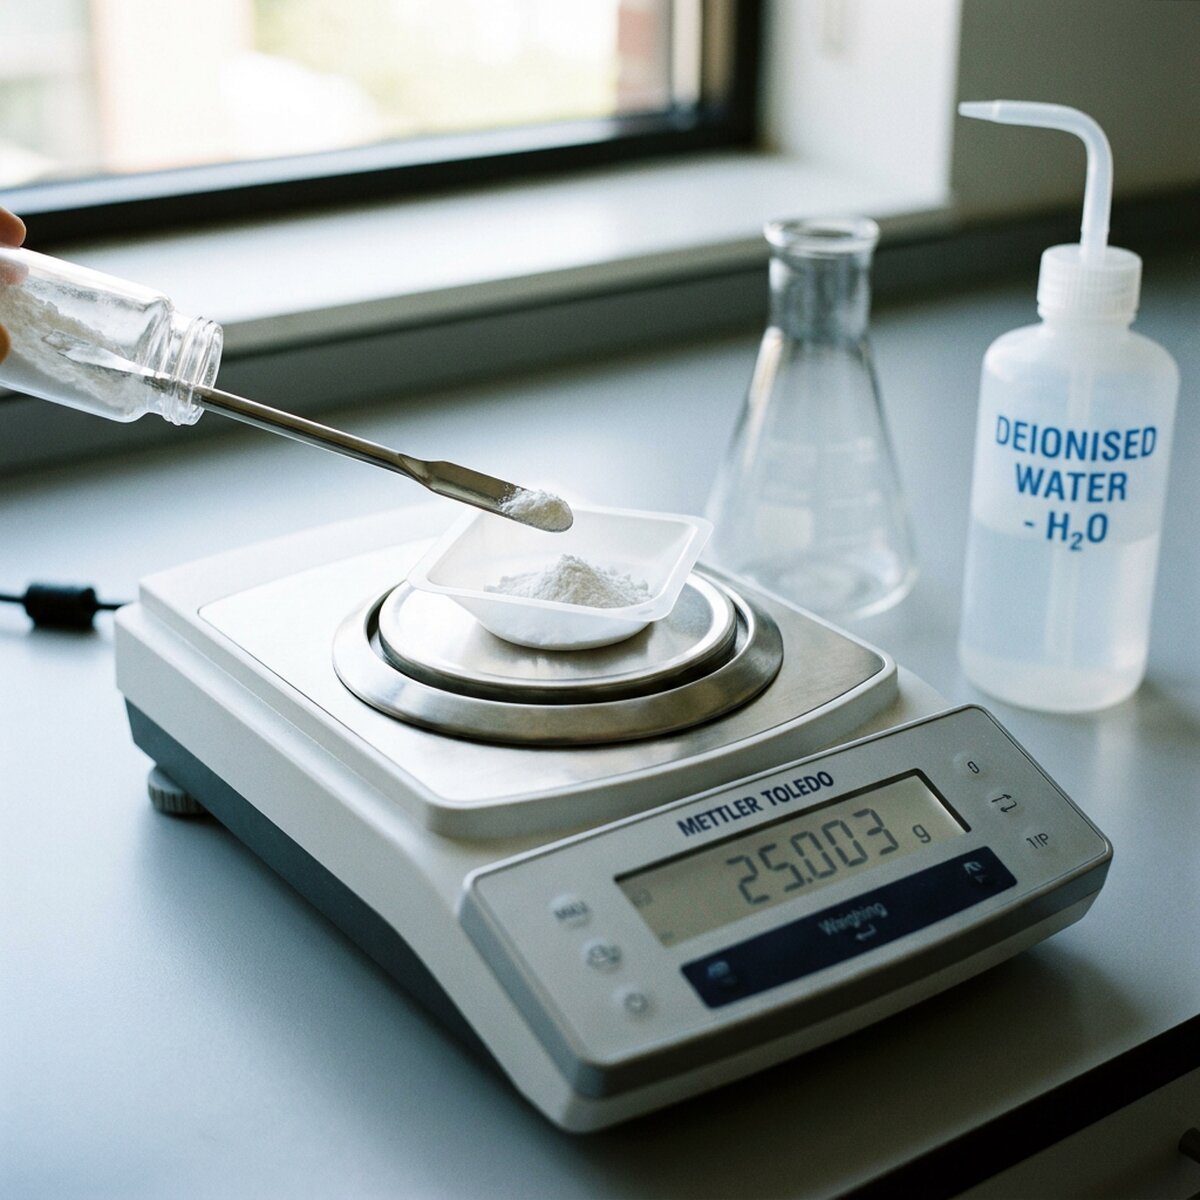
Why this matters: Dispersing solids before heat treatment reduces burnt agar on the flask bottom and keeps nutrient and salt concentration consistent across the batch.
-
Prepare for autoclaving.
Use a flask at least twice the liquid volume. Cap loosely or cover with foil (not airtight). Apply autoclave
indicator tape and label the bottle with initials, date, and “LB agar”.
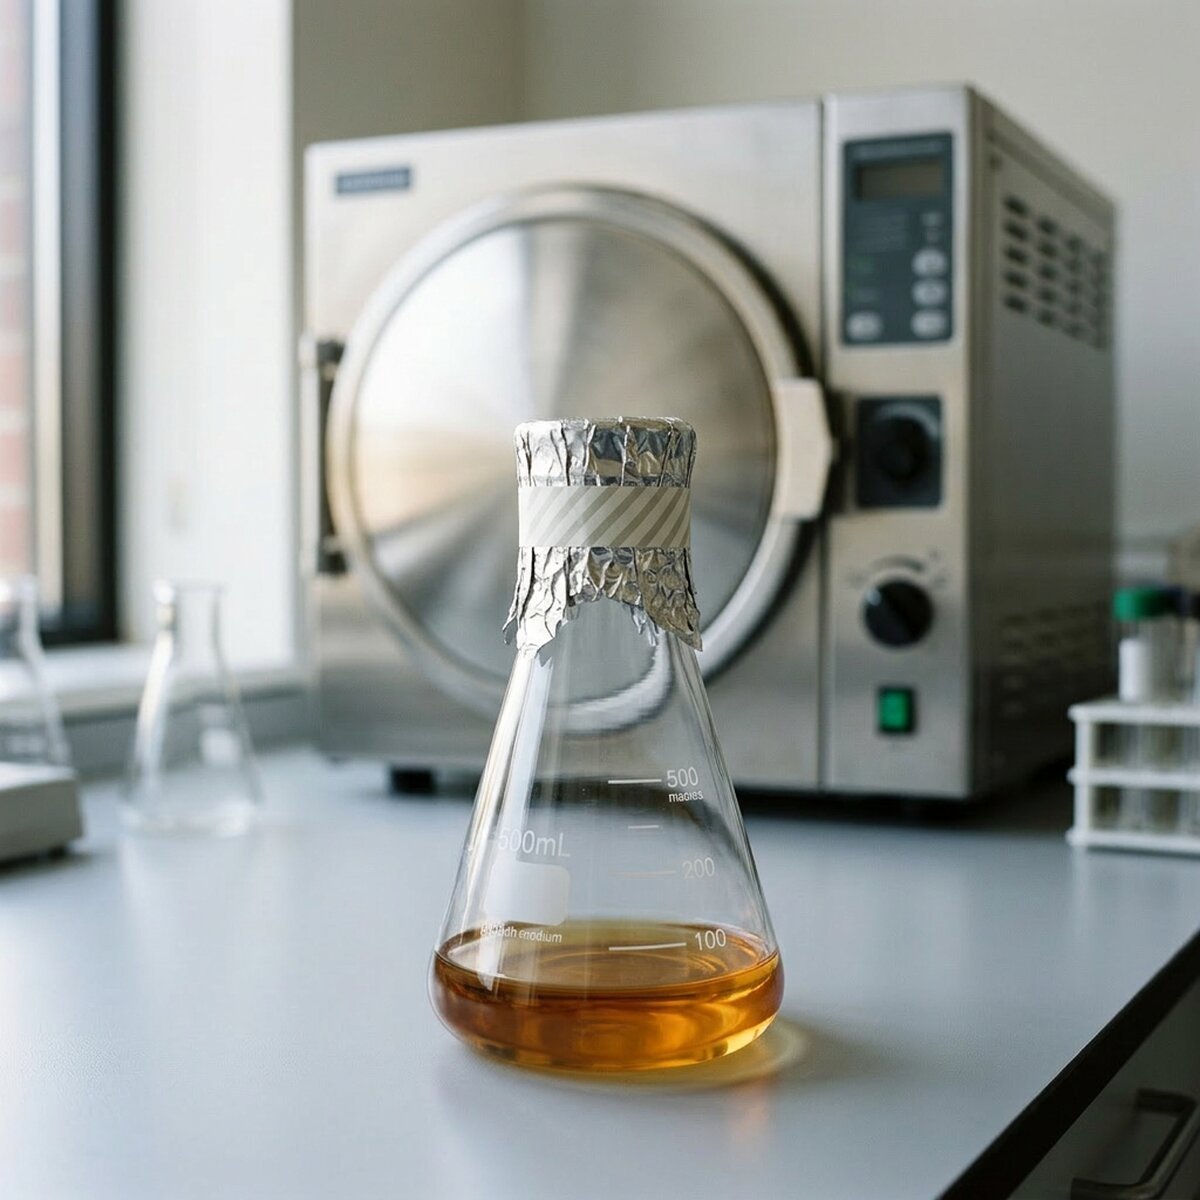
Why this matters: Venting prevents cracked glass; labels avoid mix-ups after the sterilisation run.
-
Sterilise.
Run a liquid autoclave cycle: 121 °C, 15–20 psi, hold ≥15–20 min. Use slow exhaust if your
machine allows it. At a push, you can microwave LB agar: once it boils, simmer on low power for 5–10 min
with occasional swirling (watch for boil-over).
Why this matters: Heat kills contaminants and fully melts agar so plates pour evenly.
-
Cool in a water bath.
Crack the autoclave door for ~10 min, then transfer the bottle with insulated gloves to a 48–55 °C
water bath. Submerge to ~75% of the liquid depth without letting bath water touch the neck. Swirl until the
medium is clear; allow ≥5–10 min. Keep the neck dry.
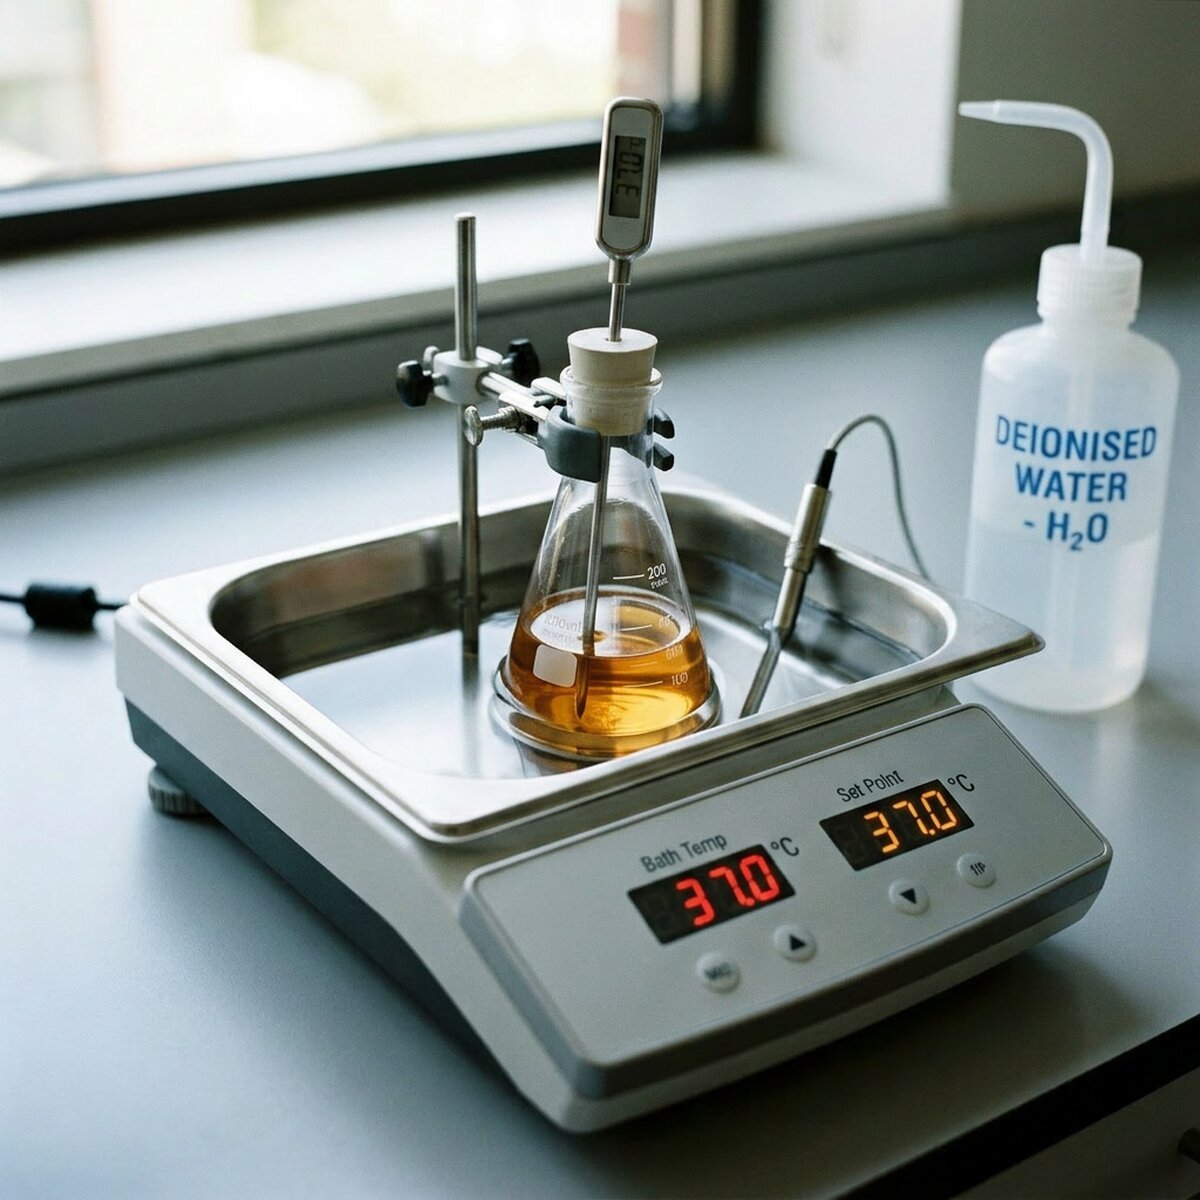
Why this matters: Holding the agar liquid in this range keeps it pourable while limiting heat damage to antibiotics added in the next steps.
-
Check temperature.
Confirm 48–55 °C with a thermometer before adding antibiotics. A practical rule: if you can hold the
bottle briefly in a gloved hand without it being uncomfortably hot, it is usually safe for antibiotic addition.
Why this matters: Too hot degrades antibiotics; too cool causes the agar to gel in the bottle.
-
Prepare the pouring station.
Ethanol-wipe the bench, light the flame, set out labelled empty plates, and keep antibiotic stocks on ice.
Why this matters: Organisation shortens the time plates are open to the air.
-
Add antibiotic (if required).
At the flame, add the correct volume of 1000× filter-sterilised stock; swirl 30–60 s. Minimise light
exposure for tetracycline and chloramphenicol.
Why this matters: Working concentration must be uniform and biologically active for reliable selection.
-
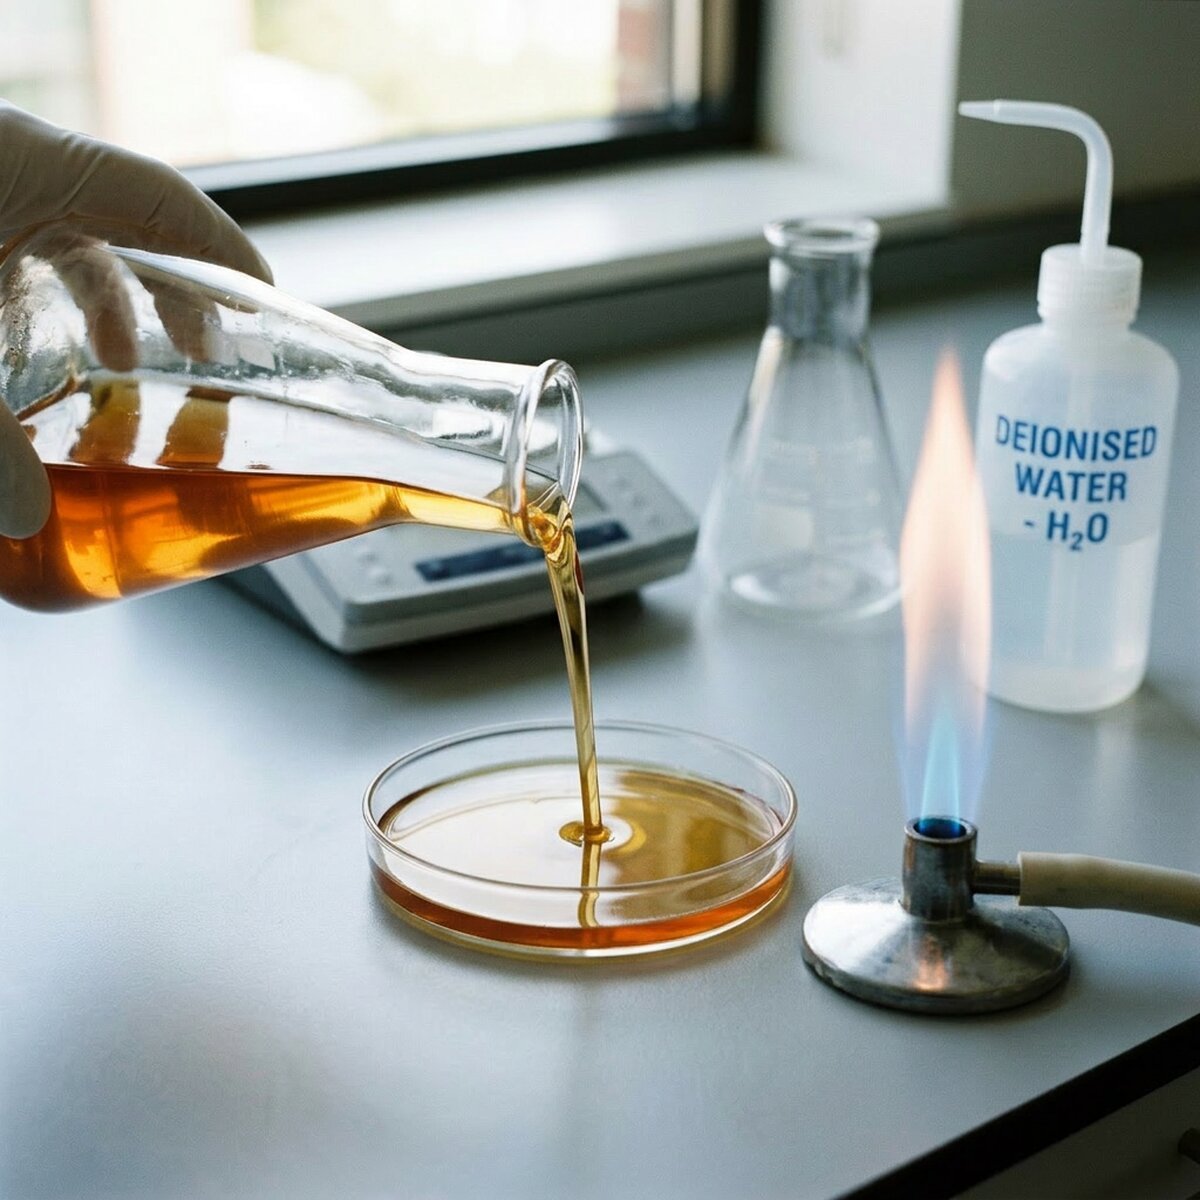
Pour plates aseptically.
Briefly flame the flask mouth. Open one Petri dish lid only slightly and pour in one smooth motion—roughly
10–15 mL for 60 mm dishes or 20–25 mL for 90–100 mm dishes. Pipette the first plate if you
want to calibrate volume, then pour from the bottle. Close each lid immediately; swirl gently to level the
surface and move bubbles to the edge. If the medium gels in the bottle, stop and remake the batch (do not
re-melt antibiotic-containing agar unless your SOP explicitly allows it).
Why this matters: The flame reduces airborne contamination; even depth gives uniform colony size and oxygen exchange.
-
Allow to set.
Leave plates upright on the bench until the agar has solidified (~30–60 min at room temperature).
Why this matters: Handling or inverting too early can rip or dent the gel surface.
-
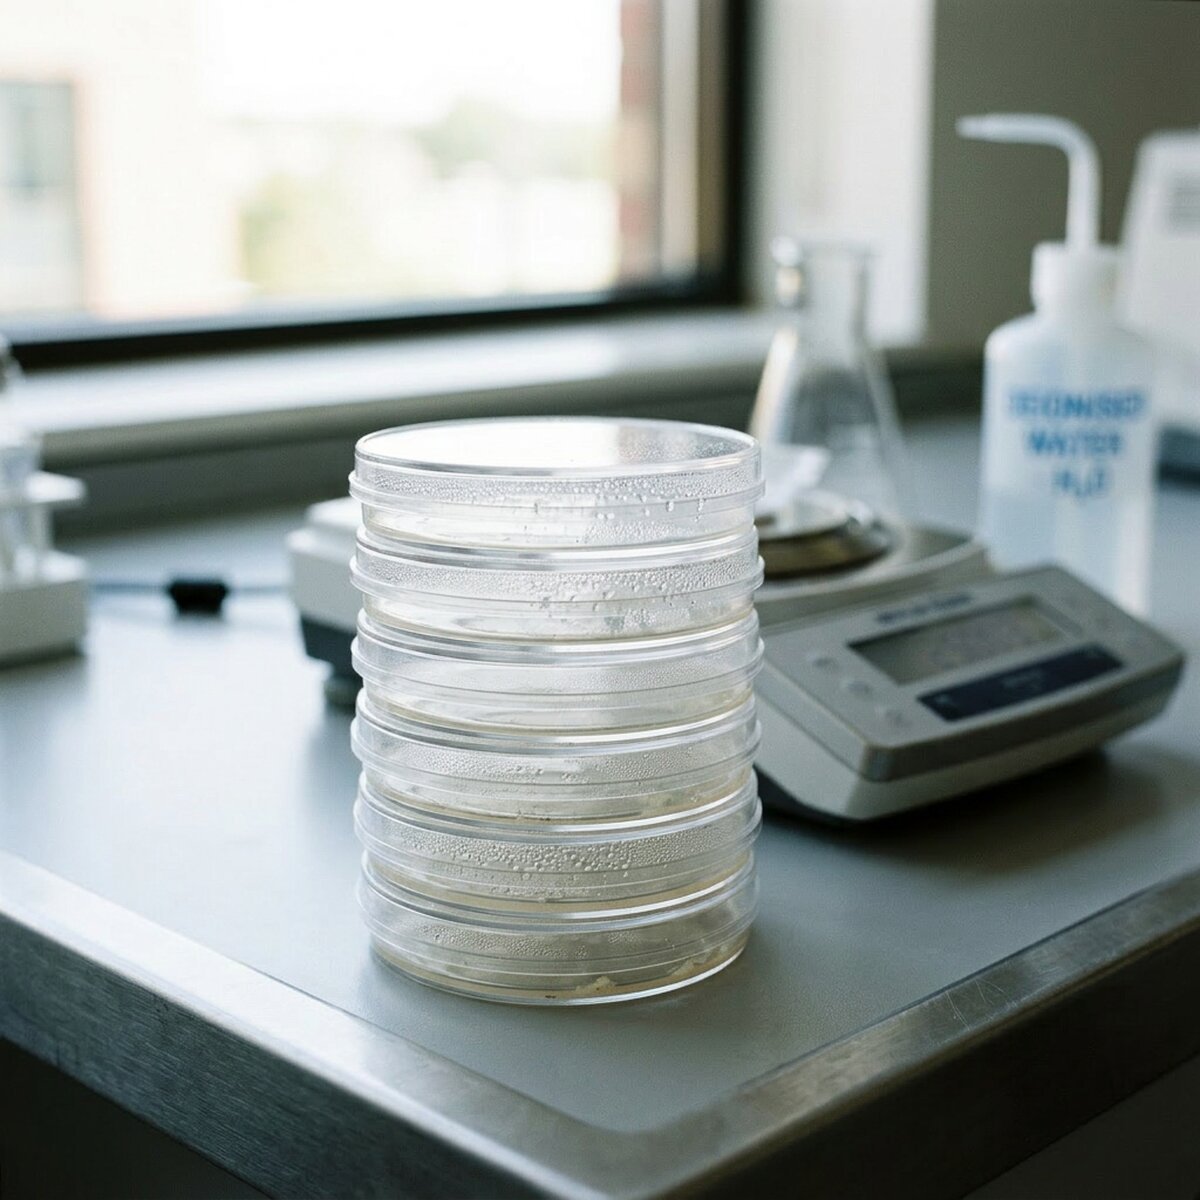
Store.
Invert lids down after the surface is firm; dry 2–24 h at room temperature if possible, then bag with
absorbent paper and store at 4 °C. Use within 2–4 weeks (ampicillin plates are often used sooner);
inspect for mould before each use.
Why this matters: Cold, dry storage slows contamination and surface spreading of colonies.
-
Before use (optional pre-warm).
About 1–2 h before plating transformed E. coli, remove the lid and place the plate upside down
in a 37 °C incubator. Rest the lid at an angle, inner surface facing down, on the edge of the plate so
condensation can evaporate from the agar surface. This helps liquid culture absorb into the gel when you spot
or spread cells.
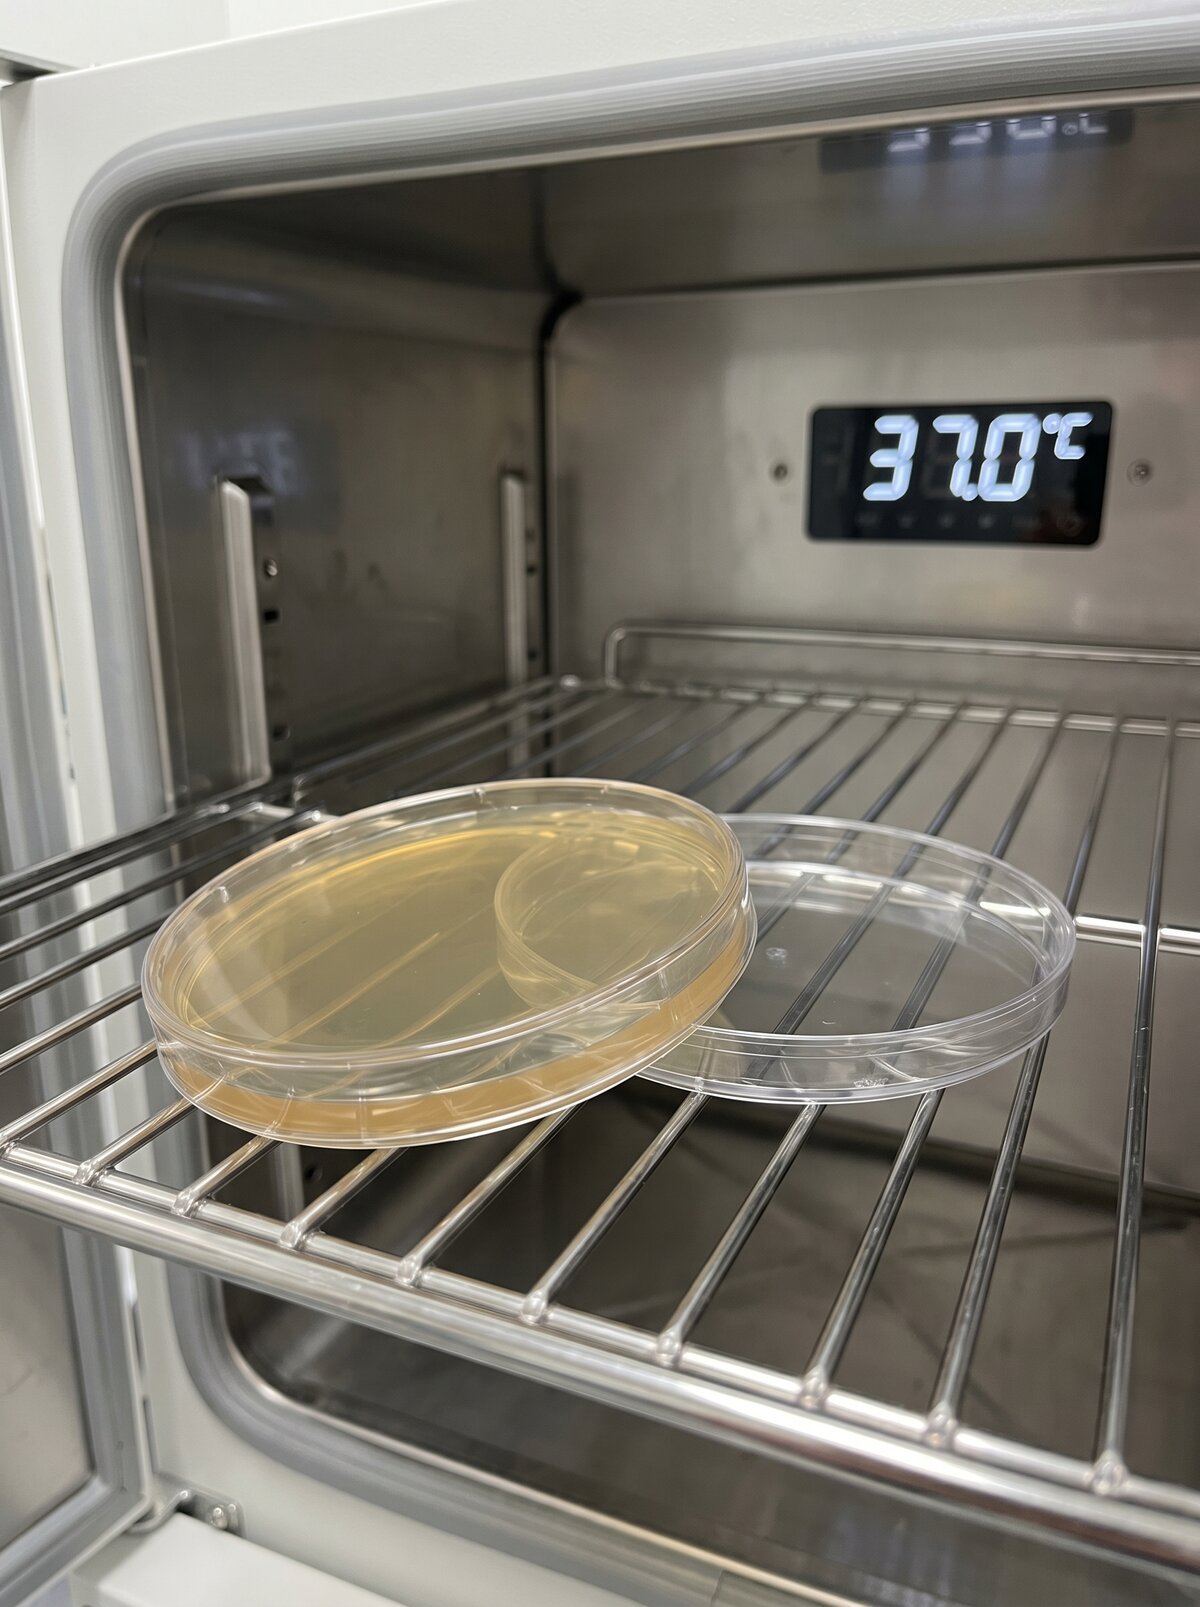
Why this matters: A dry, warm surface reduces spreading of small liquid volumes and limits “swimming” colonies on overly wet agar.
Preparing 1000× antibiotic stocks
Dissolve powder in the correct solvent (water for ampicillin and kanamycin; ethanol for chloramphenicol and tetracycline). Vortex until fully dissolved. Filter through a 0.22 µm syringe filter into a sterile tube. Label with name, concentration, solvent, and date. Store at −20 °C in aliquots; avoid repeated freeze–thaw. Example: 100 mg/mL ampicillin stock → 1 µL per mL of medium gives 100 µg/mL final.
Quality control
Before trusting a batch for cloning, streak a resistant strain and a sensitive strain on separate plates from the same pour. Incubate overnight at 37 °C (or the strain’s preferred temperature).
- Expected: growth only on the resistant strain.
- Both grow: antibiotic degraded, omitted, or underdosed—or wrong stock bottle.
- Neither grows: antibiotic too concentrated, wrong drug, or dead strains—restreak both on LB agar without antibiotic.
- Only sensitive strain grows: swapped strains or mislabelled plates.
Troubleshooting
- Set in bottle: cooled too far; re-autoclave without antibiotic or remake.
- Satellite colonies on ampicillin: use fresher plates or carbenicillin; plate transformants promptly.
- Wet surface: dry inverted longer before bagging; use the pre-warm step before plating.
- Mould in stack: discard affected plates; improve bag sealing and storage hygiene.
Variants
- Plain LB agar: omit the antibiotic step; useful for viability checks.
- Carbenicillin instead of ampicillin: often fewer satellite colonies because carbenicillin is more stable on plates.
- Blue/white screening: add sterile IPTG and X-gal after cooling per your cloning system.
- Thicker agar (15–20 g/L): harder surface if plates are handled frequently.
References
- Addgene — Pouring LB agar plates
- ASM LB / Luria agar preparation guidelines (sterilisation and composition).
- Bertani, G. (1951) J. Bacteriol. — original LB formulation.
- Your plasmid map, antibiotic supplier sheet, and local biosafety SOP take precedence.